You water regularly. You fertilize each season. But your grass still looks thin, patchy, or just not as lush as you want. If that sounds familiar, the issue might be hiding just below the surface—literally. It’s called thatch, and too much of it can choke out the results you're working so hard for.
Understanding when and how to dethatch your lawn can be the missing step in your healthy lawn care routine. Here’s what you need to know to help your grass breathe easier, absorb nutrients, and grow stronger from the roots up.
What Is Thatch—and Why Does It Matter?
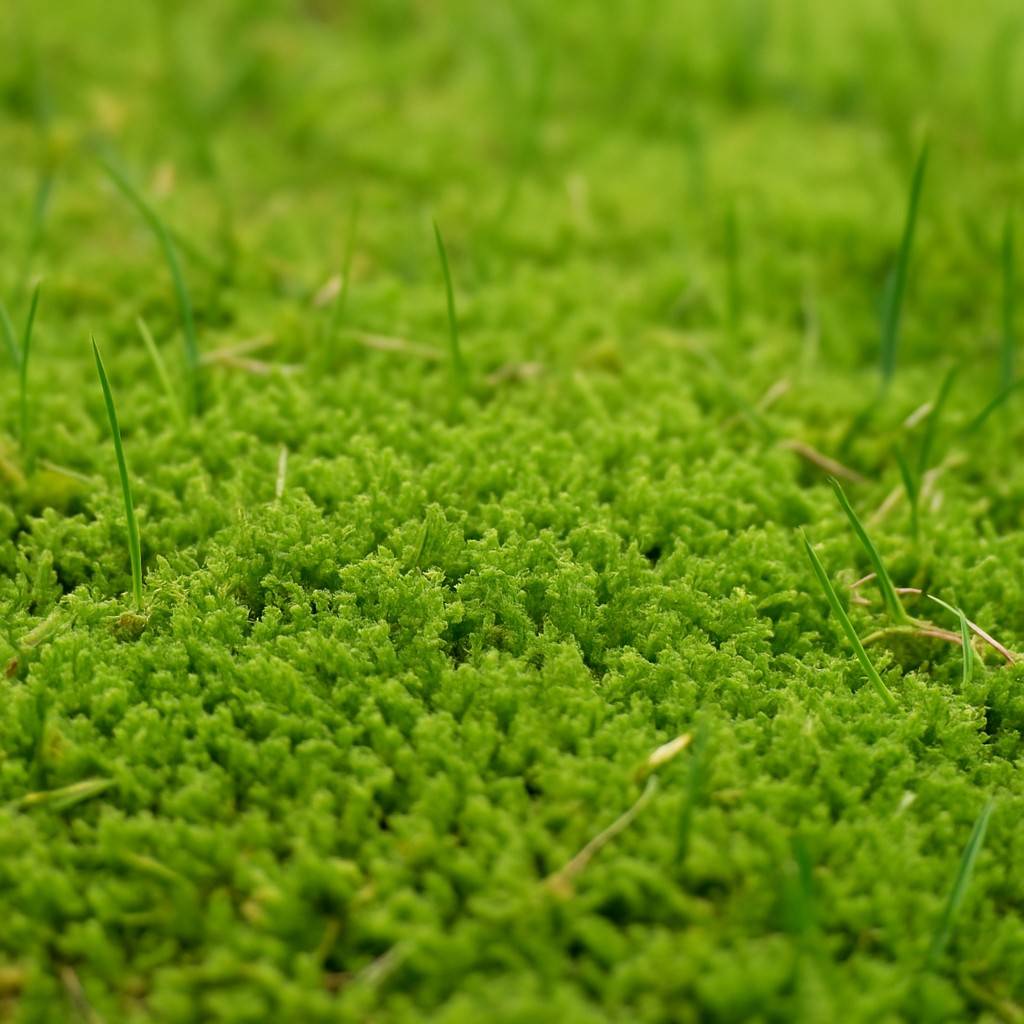
Thatch is a layer of undecomposed organic matter—mostly grass stems, roots, and debris—that collects between the soil and the grass blades. A thin layer of thatch is natural and even beneficial, helping to retain moisture and cushion foot traffic.
But when thatch builds up to more than ½ inch thick, it becomes a barrier. It can block water, air, and nutrients from reaching the soil, leading to:
- Weak root systems
- Increased risk of pests and lawn disease
- Brown patches and thinning grass
One of the easiest ways to check? Dig up a small slice of your lawn. If you see a spongy, dark brown mat between the grass and soil thicker than ½ inch, it’s time to consider dethatching.
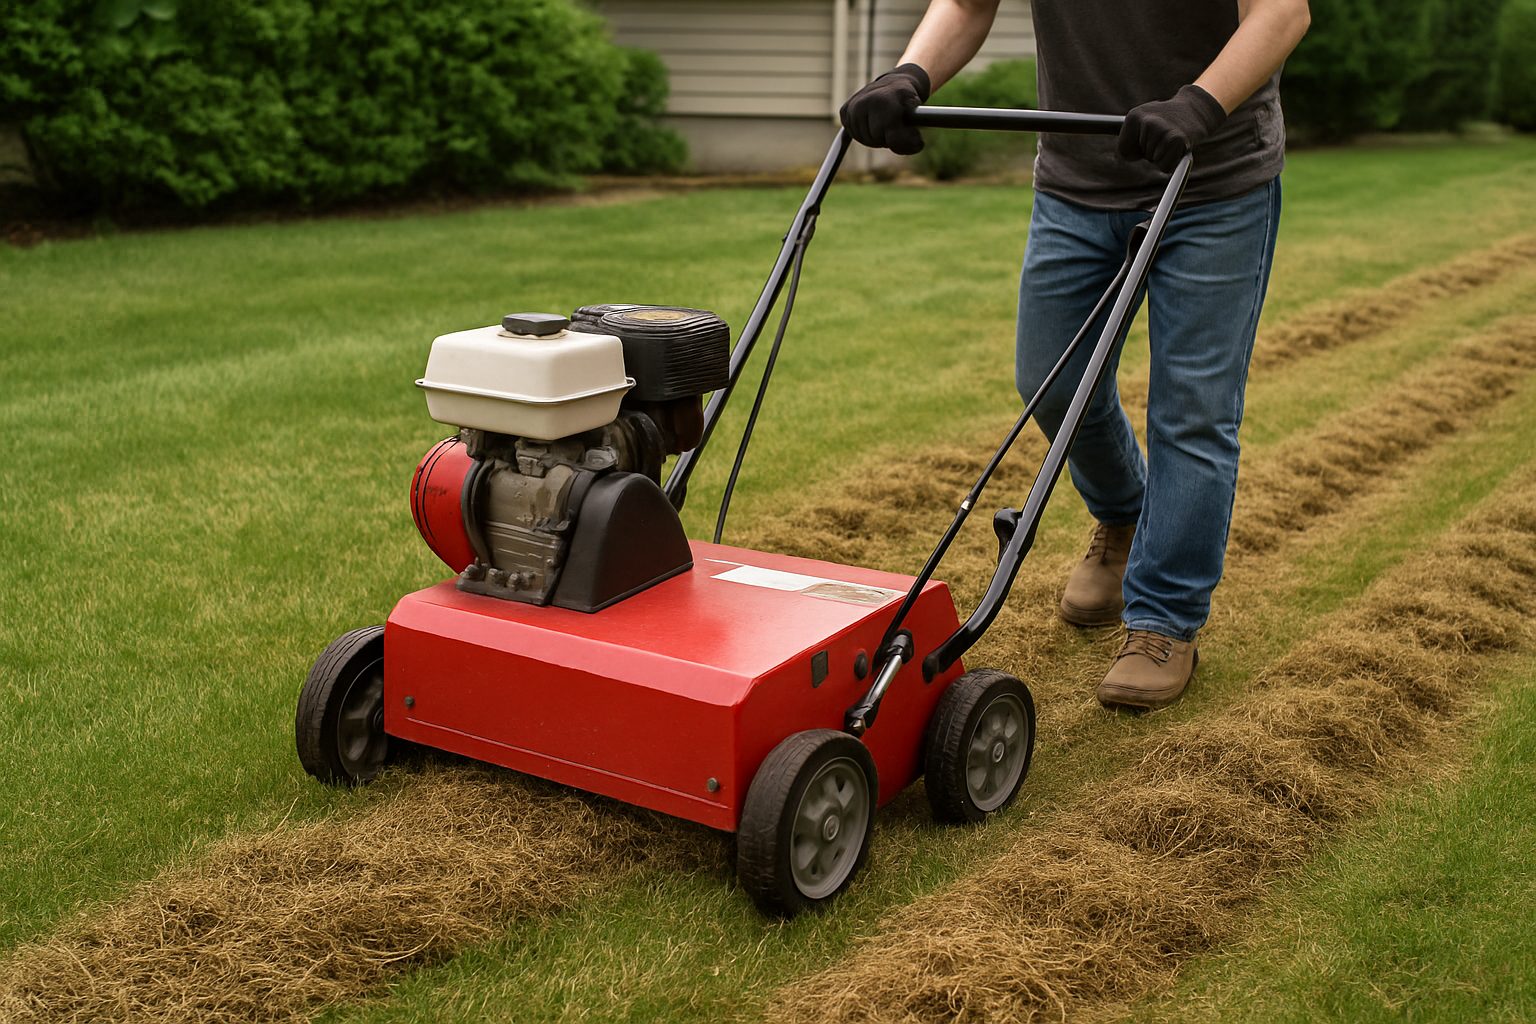
Pro Tip: Lawn aeration and dethatching are often confused. Aeration loosens compacted soil; dethatching removes the organic barrier above it. In many cases, both are needed for optimal results.

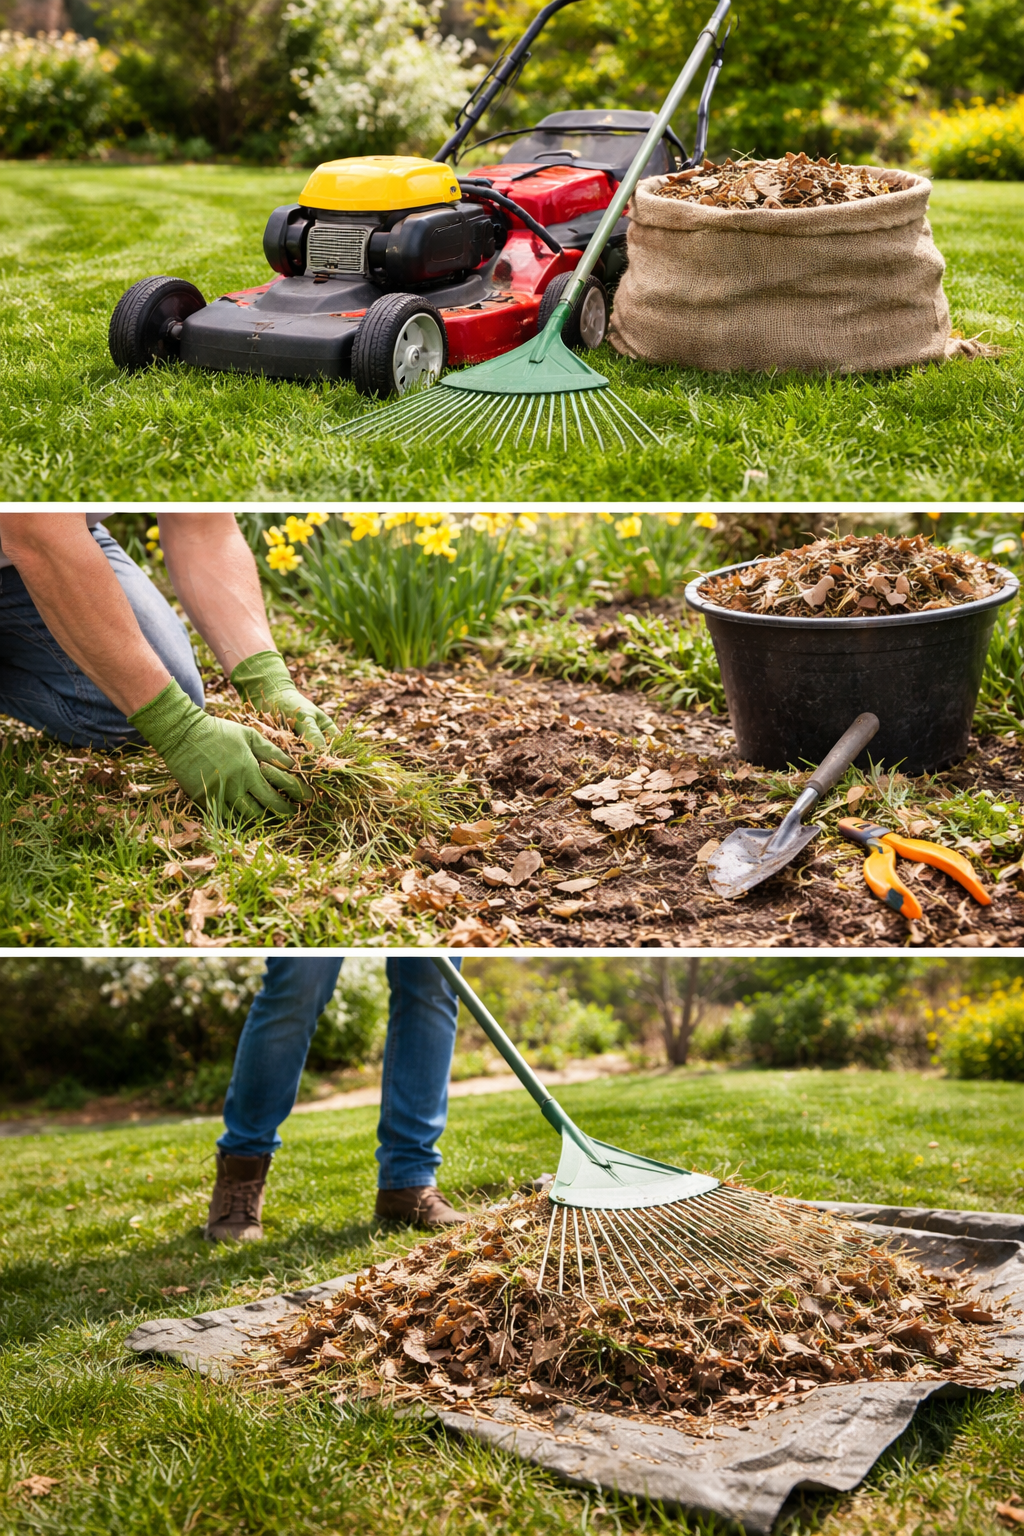
When (and How) to Dethatch Your Lawn
Timing is everything with dethatching. You want to do it when your grass is actively growing so it can recover quickly—typically early spring or early fall for cool-season grasses common in Northern states.
Here’s how the process works:
- Use a dethatching rake or machine to lift and remove the thatch layer. (DIY Dethatching: You can rent a dethatching rake from your local Home Depot).
- Rake up and dispose of debris.
- Follow with watering and fertilization to support regrowth
Need more guidance? Check out Pennington’s dethatching guide for a step-by-step DIY walkthrough.
If DIY isn’t your thing or you’re short on time, you can also hire a local lawn dethatching service to takes care of it for you. (Note: TLC - The Lawn Company does not currently offer dethatching services.)
For everything else your lawn needs—from fertilization and weed control to pest prevention—TLC’s expert team is here to help. Get in touch to build a customized lawn care program for your yard.
%20(1)%20(1).jpeg)